Multi-monitor support for StereoSlide Show
The latest StereoSlide Show now supports multiple monitor display.
For example, it is now possible to easily connect two projectors to a notebook
PC, display the control panel on the notebook PC screen, and divide the
left and right images on the two projectors.
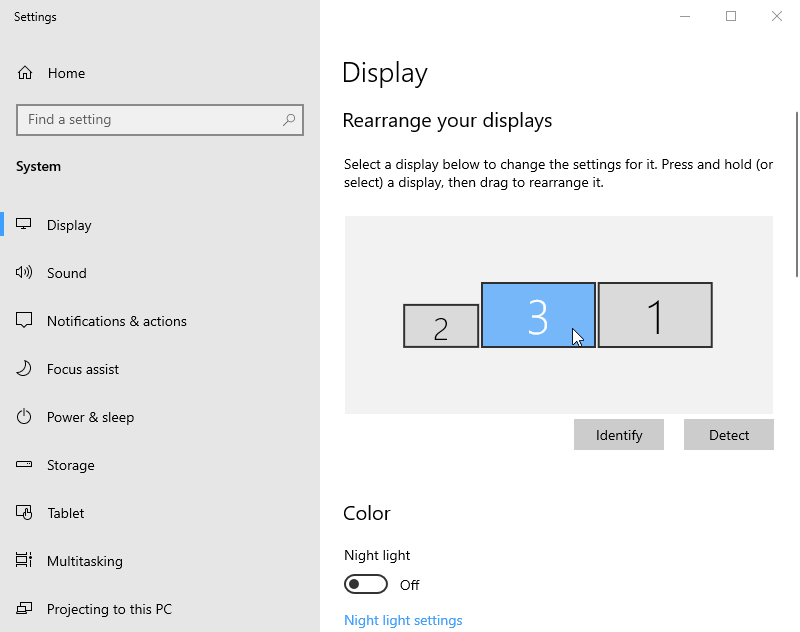
How to set up multiple monitors
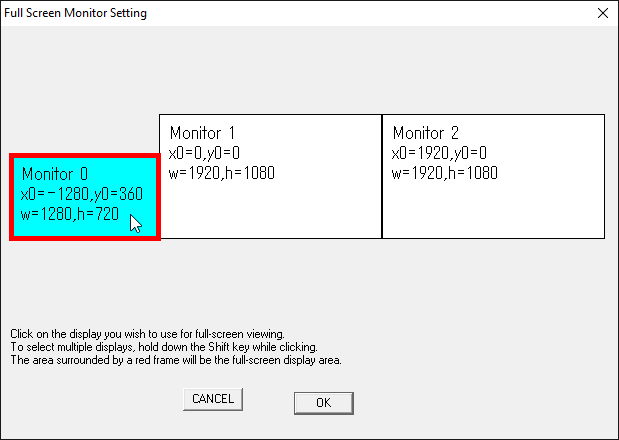
The following is an example of a Windows display setting with three monitors
connected as shown below.
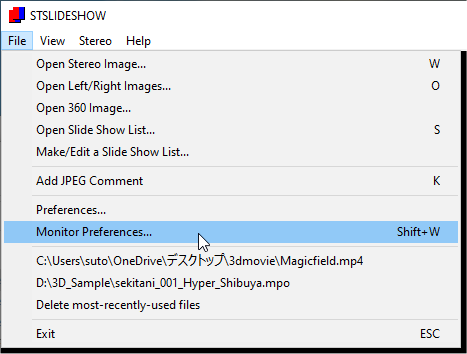
Select Monitor Preferences from the menu, or press Shift+W
The monitors are displayed in the same layout as the Windows display settings, so select the monitor you want to use for full-screen display with a mouse click.
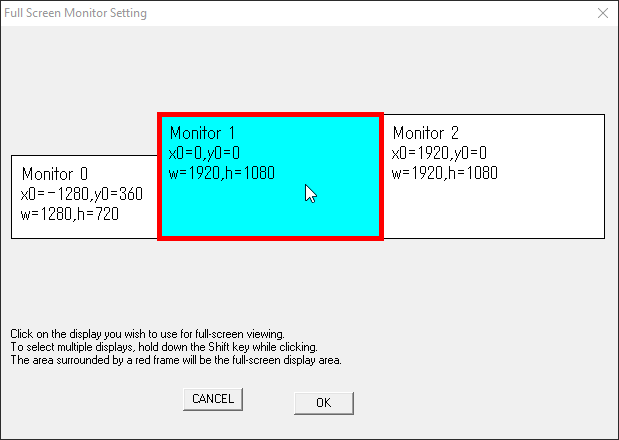
To display on multiple monitors, select the first monitor, then hold down
the Shift key and click to select the second monitor.
In the same way, you can select any number of monitors while holding down the Shift key.
Clicking on the selected monitor while holding down the Shift key will deselect it.
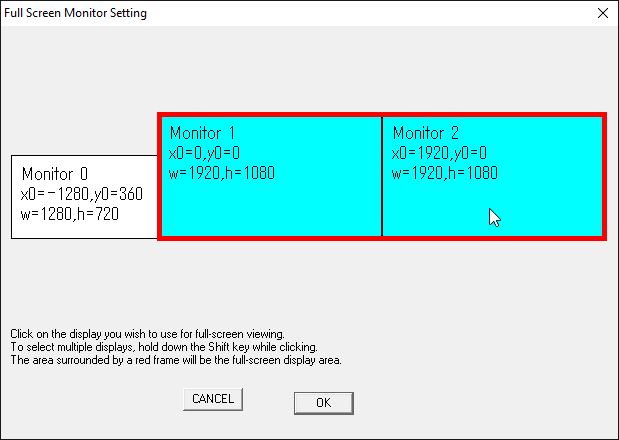
The area encompassing all selected monitors is surrounded by a red frame,
and this red frame is the video display area.
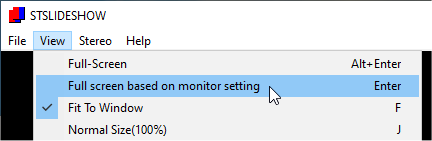
Full screen display ON/OFF
Select "Full Screen based on monitor setting" from the menu.
Or, press the Enter key to display full screen on the monitor surrounded
by the red frame determined by the above monitor settings.
To return from full screen display, press the Enter key again.

Select "Full Screen" from the menu. Or press Alt+Enter to go
full screen on the currently displayed monitor, regardless of the monitor
settings (conventional full screen method).
To return from full screen, press Enter.
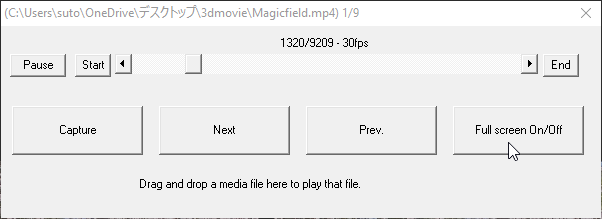
Control panel display ON/OFF
Select "Control Panel Show/Hide" from the menu. Alternatively,
press the C key to display the control panel.

The control panel can pause and resume video, move the video playback position,
as well as control slideshows, etc.
For example, it would be convenient to connect two projectors to a notebook
PC and display and control this control panel on the screen of the notebook
PC.