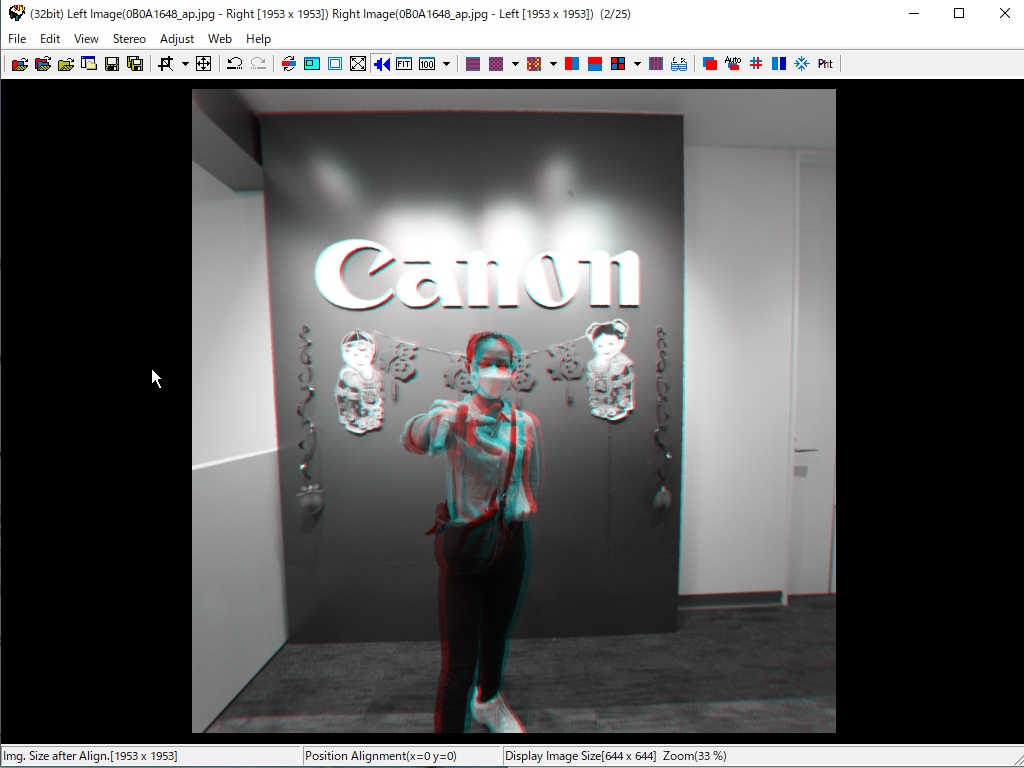
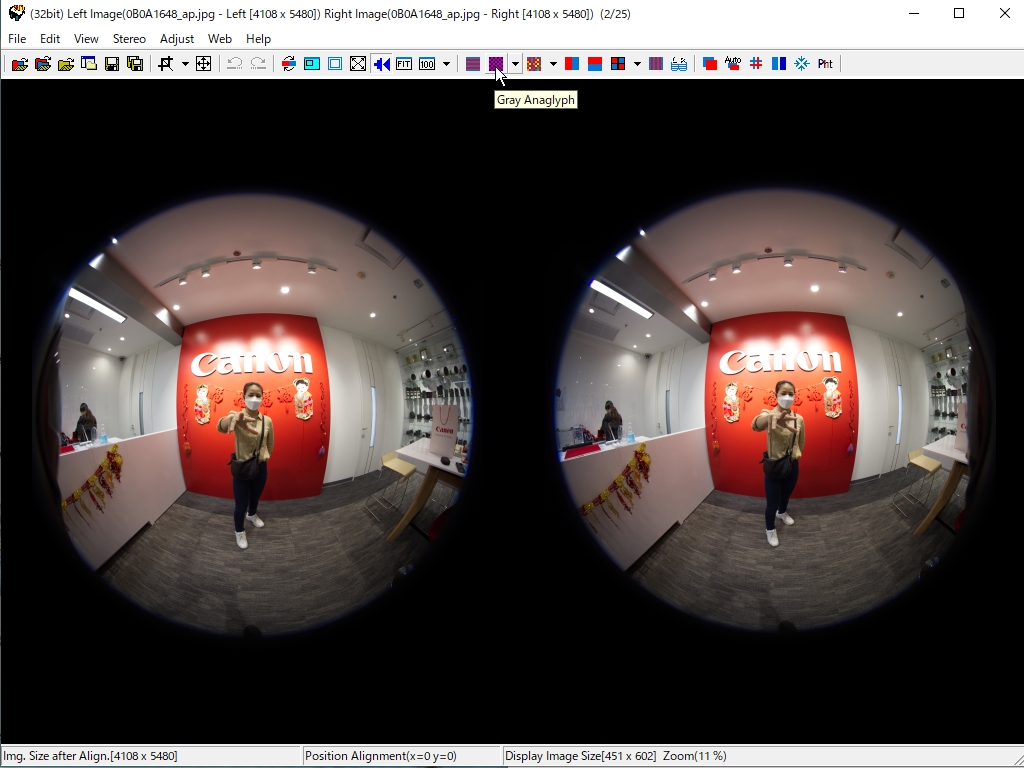
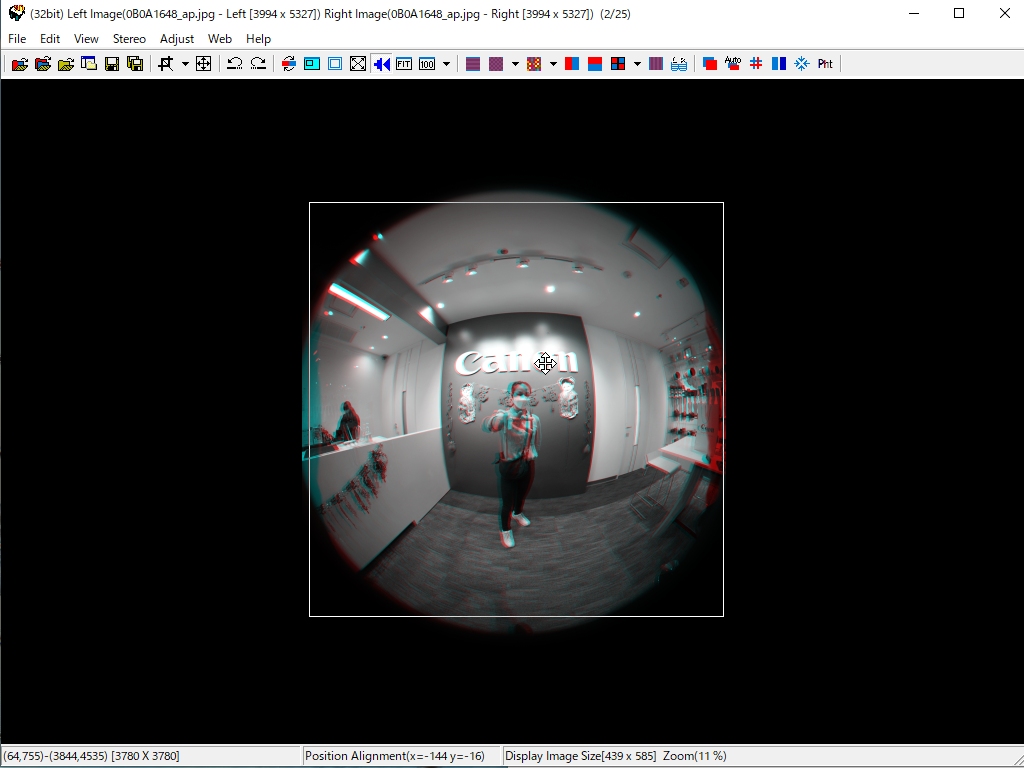
2. Open the dual fisheye image.
The gray anaglyph display is recommended because it is easier to check the left and right positions.
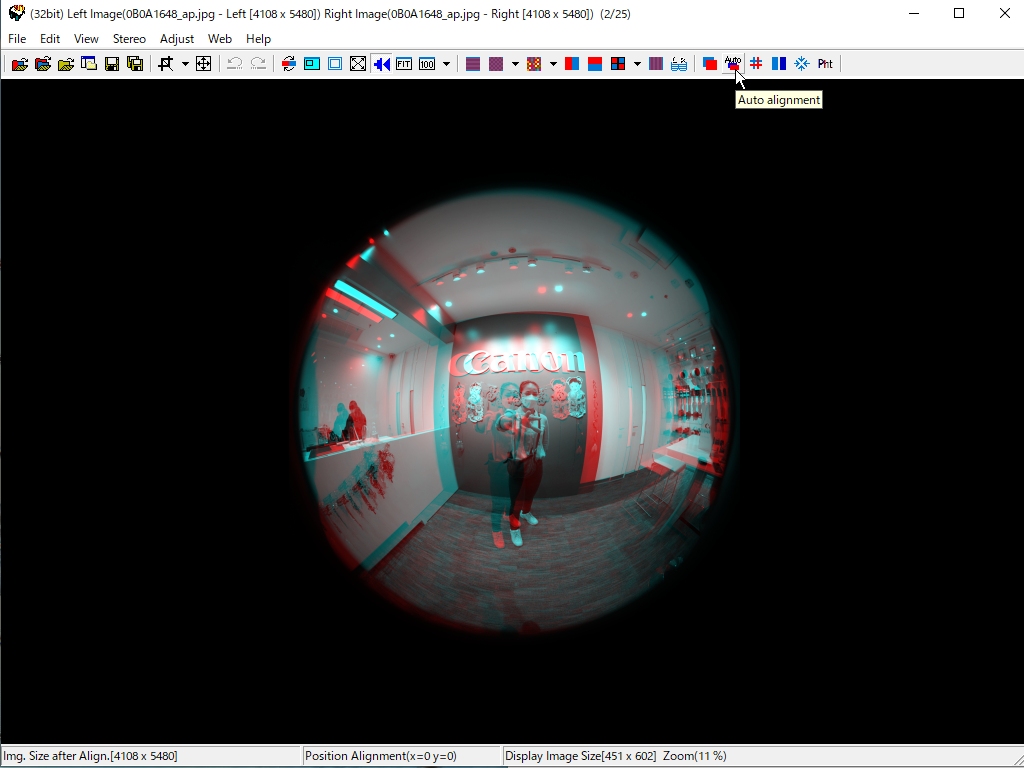
3. Execute auto-alignment.
You can try different things to decide if you want to do it after or before converting to Equirectangular.
4. Perform custom cropping (press the 0 key)
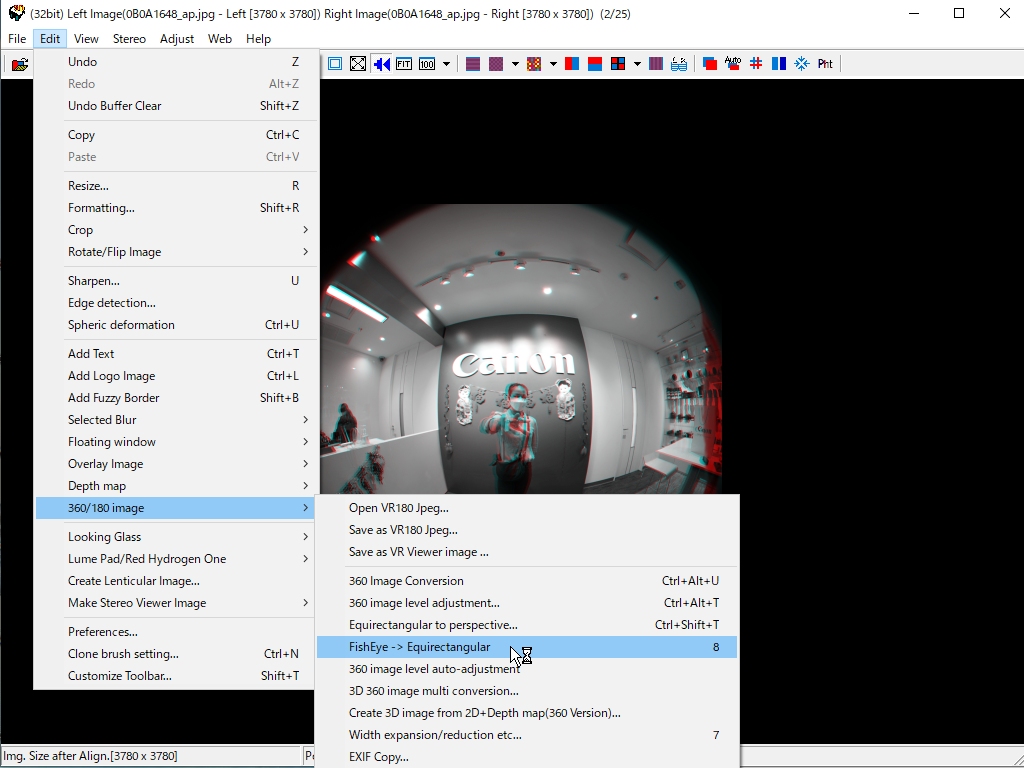
Canon's fisheye image appears to be 3990x3990 pixels per side (measured from the image, not exact)
Also, the angle of view is 190 degree, so to create an equirectangular image with VR180, we need to crop the image to 3990x180/190=3780 pixels.
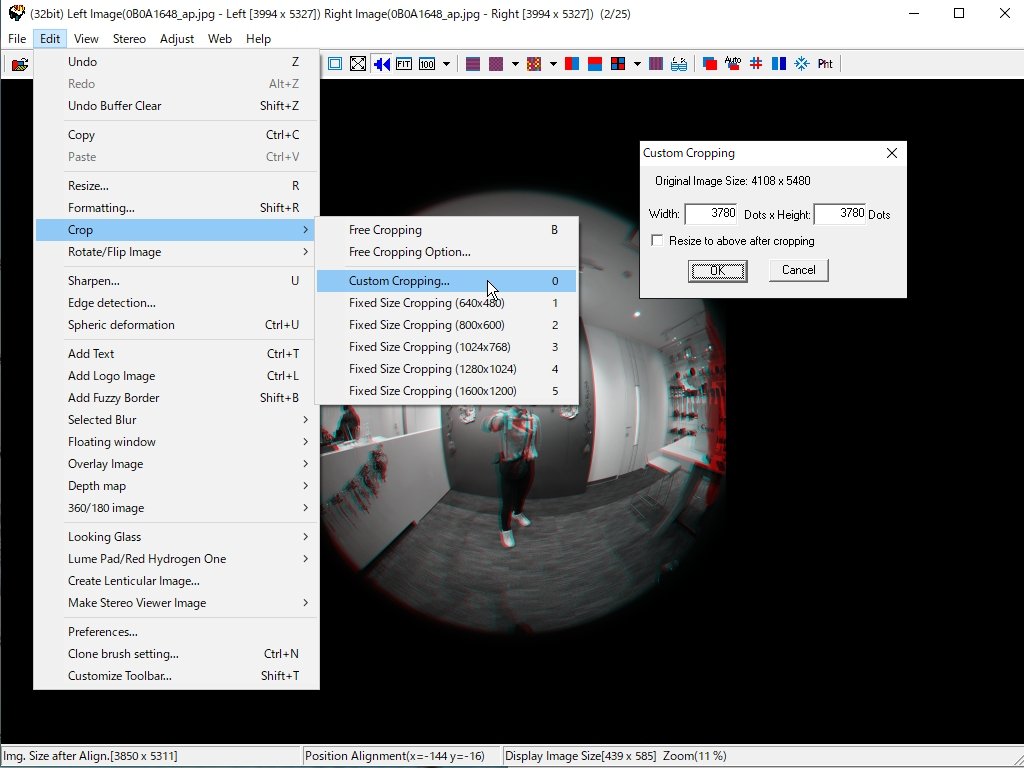
5. As much as possible, align the crop area with the center of the fisheye image, and stop dragging the mouse to crop the area.
6. Execute Fisheye to Equirectangular Conversion
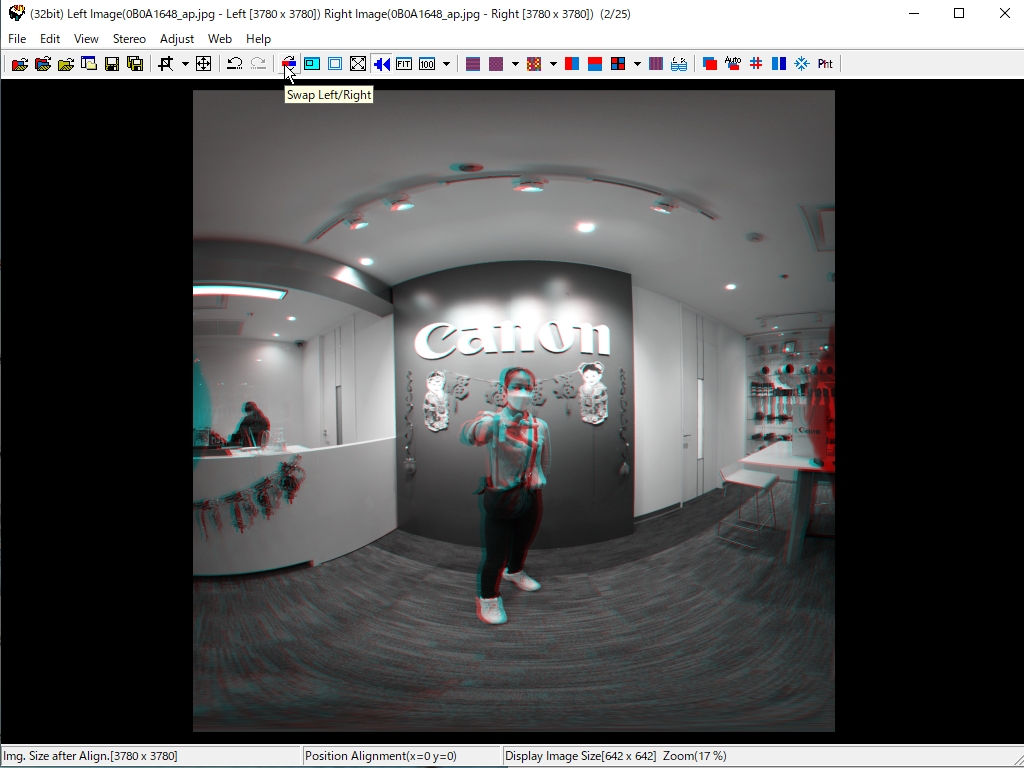
7. The left and right images are reversed in Canon's VR system, so we will swap them.
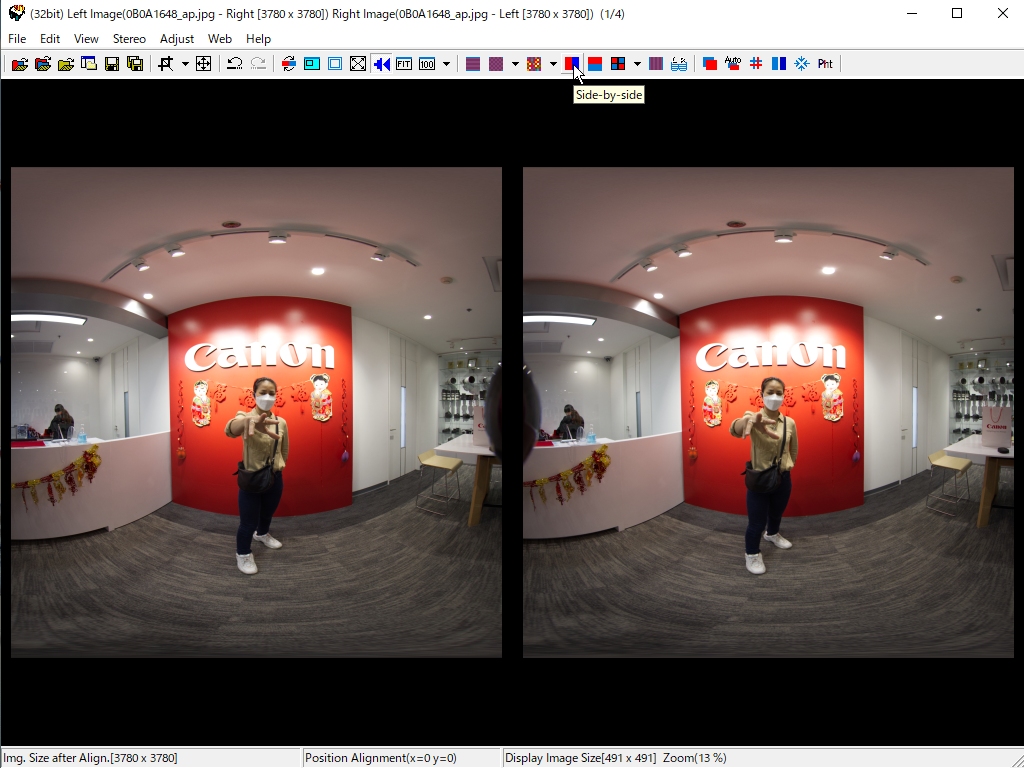
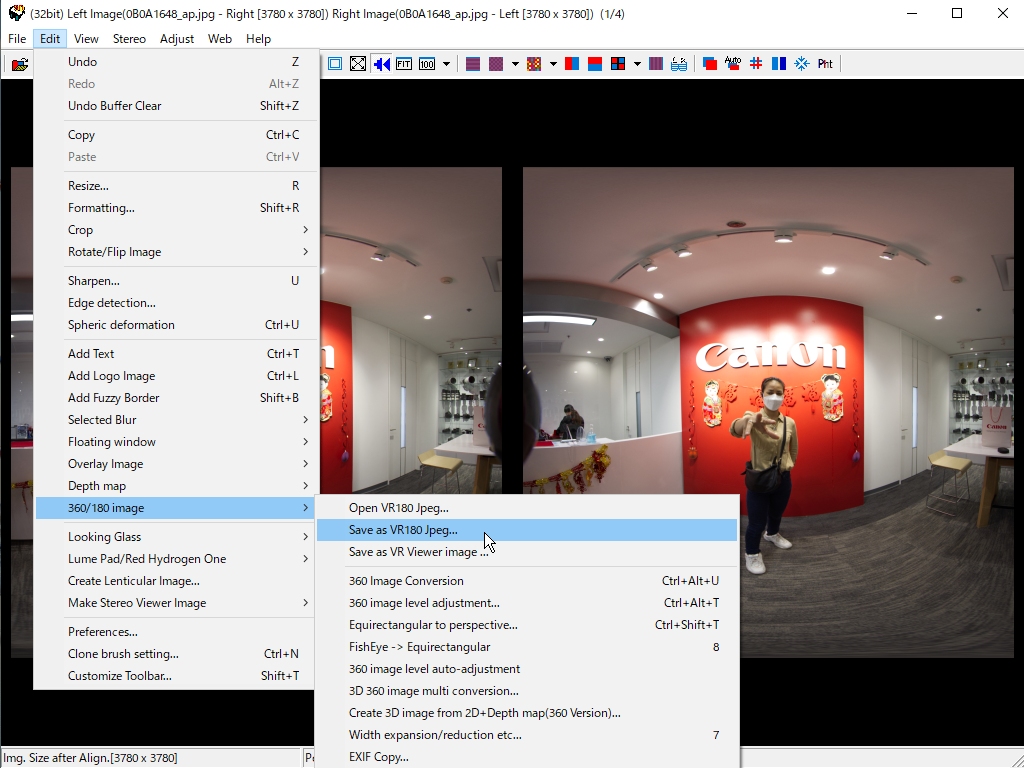
8. Display side-by-side to save as a side-by-side image in VR180.
9. Select "Save as VR180 Jpeg" from the menu.
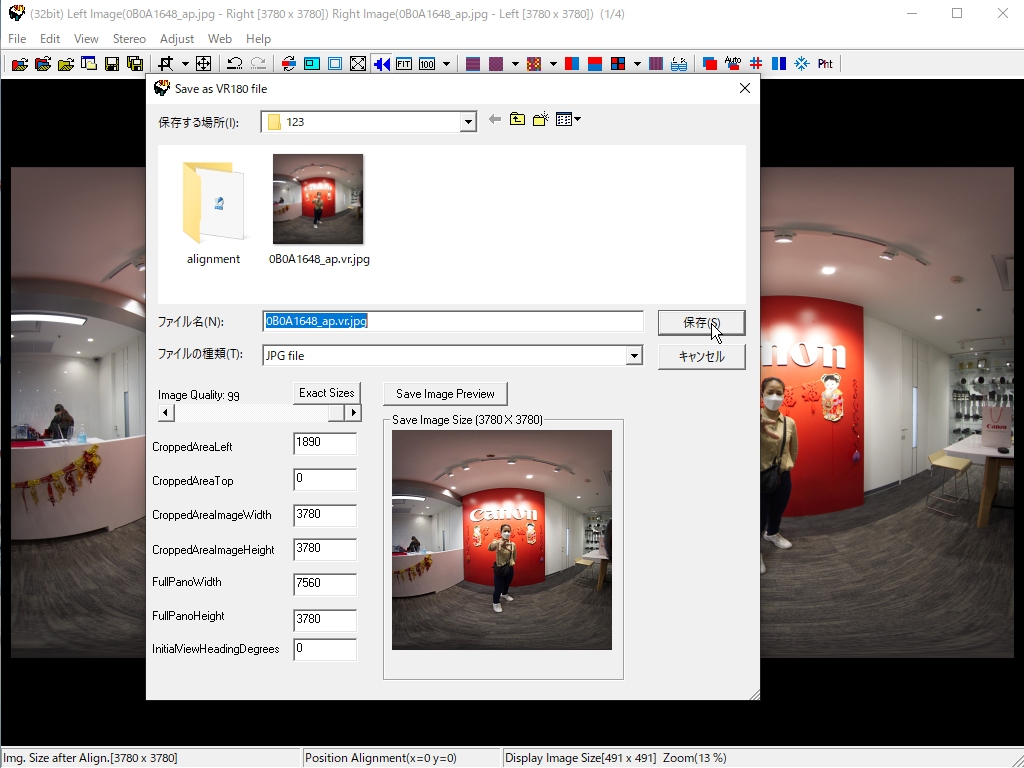
10. Write each parameter as tag information in the Jpeg file to make it recognized as a VR180 file.
Basically, the parameters are calculated for VR180 from the image size, so save the file with the file name as it is.
The saved VR180 file will be recognized as a 2D Jpeg by normal applications. to open the file in SPM, use "Open VR180 Jpeg" above the "save as VR180 Jpeg".
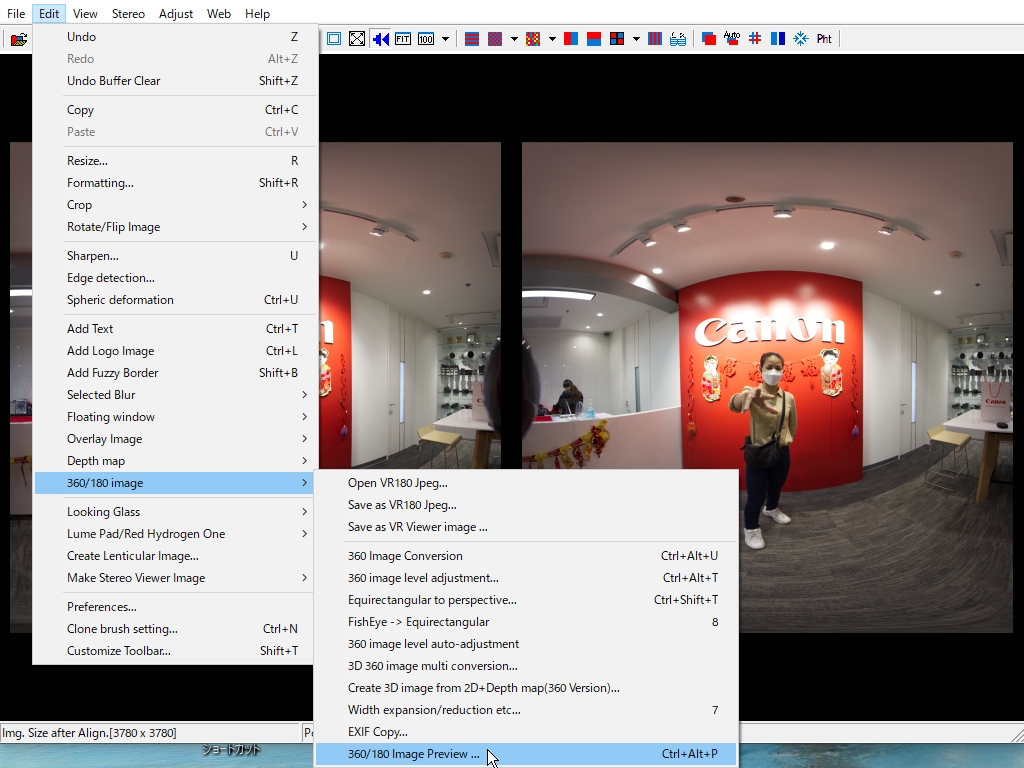
11.You can view images saved as VR180 images on a head-mounted display such as Meta Quest2, but you can also view them on a PC using SPM's "360/180 image Preview" function.
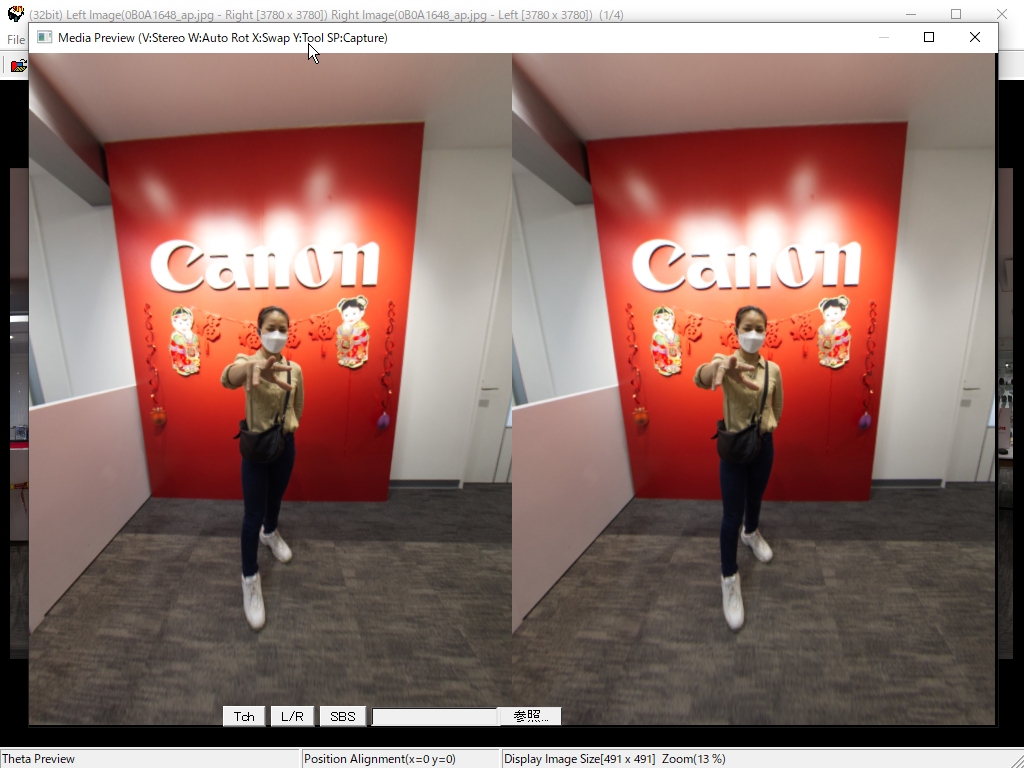
By using SPM's "360/180 image preview" function, you can view the image in various stereo formats (SBS, anaglyph, interlaced, etc.) with the mouse drag and wheel zooming.
12. Each time you press the Enter key, the display switches between full screen and windowed.
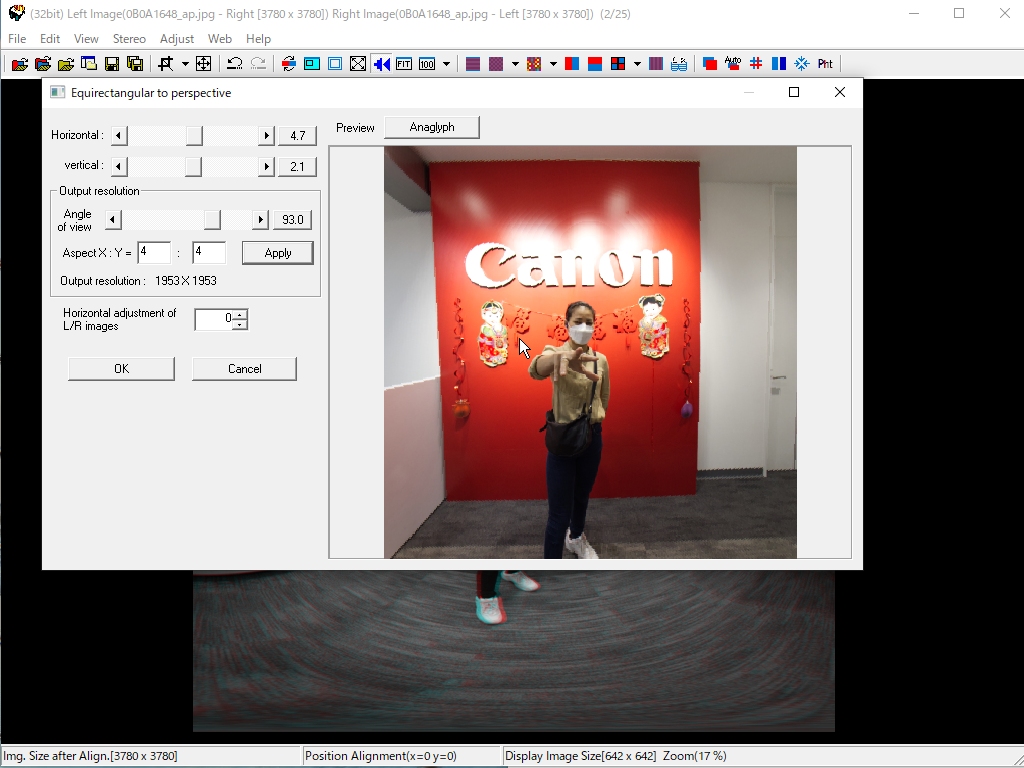
13. Try to cut out a flat image from the Equirectangular.
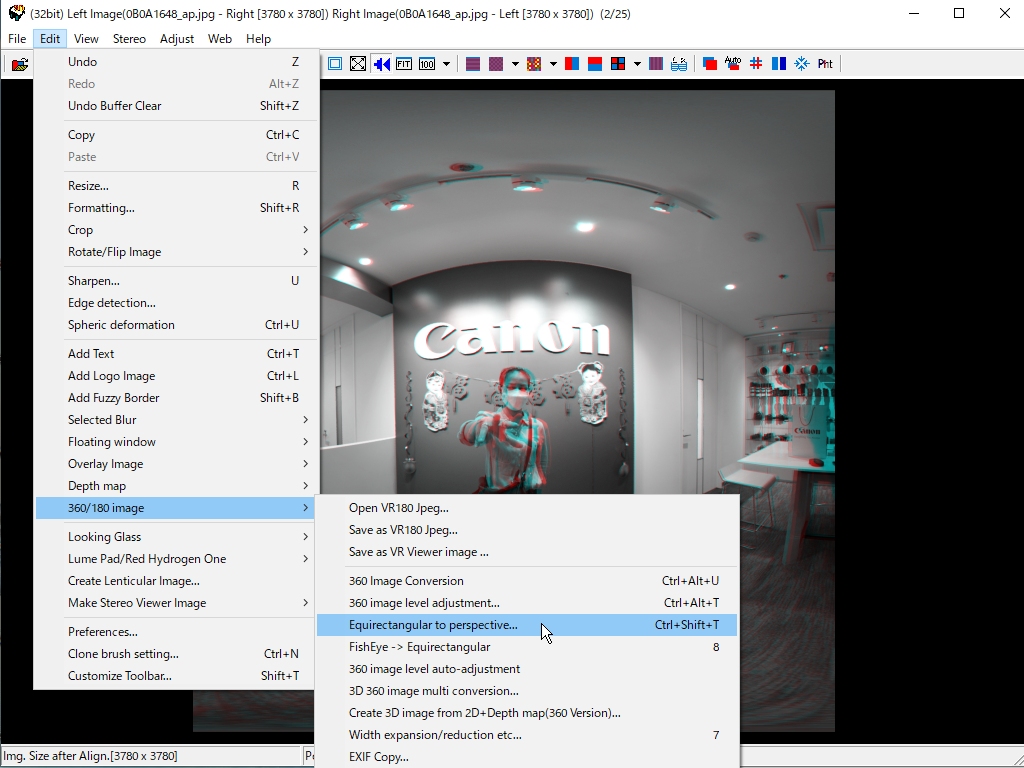
Execute "Equirectangular to perspective"
14. Decide on the aspect ratio of the image to be cut out and press the Apply button.
Drag the mouse on the image to set the cropping position, and use the mouse wheel to zoom.
Press the Anaglyph button to display the anaglyph, adjust the depth using the Horizontal adjustment of L/R images value, and press the OK button.
The preview image is rough, but when you press the OK button, the specified area will be cropped out in the original resolution.
15. The cropped left and right images will be displayed, and you can save them in any format you like.