i3DSteroid360
App Store
Ricoh's Theta and others, spherical panorama cameras became readily available,
and by using VR viewer everyone can enjoy full spherical stereoscopic images
with immersive feeling.
Unfortunately, even if you view same image on the left and right with the
VR viewer, you will not get a stereoscopic effect.
You need two equirectangular images shot at the same distance from the
subjects, called "cha-cha shot" for decent stereoscopic effects.
In case of twin spherical shots on THETA for 3D360 photo, special image
processing is required for the geometrical alignment, which is different
from regular non spherical 3D images such as;
1) No cropping allowed in the equirectangular images and the deformation
have to be kept within the equirectangular shape.
2) Pseudo stereoscopic parts exist in parts of the equirectangular pair
have to be swapped for decent stereo.
SPM (V. 5.20), PC application has ctrl+alt+T window to align such equirectangular
pair.
http://stereo.jpn.org/eng/stphmkr/index.html
This i3DSteroid360 APP is the smart phone version for such 3D360 equirectangular
alignment
1. With the Theta, full spherical camera, shoot left image first, then shift
THETA position to the right, shoot right image and transfer the two images
to the smart phone.
- Make sure that all subjects do not move while shooting two images to
avoid the retinal rivalry in the VR viewing.
- The shift distance may depend on the situation, however relatively short
distance, 2 ~ 3 cm is appropriate in many cases.
2. Launch the application
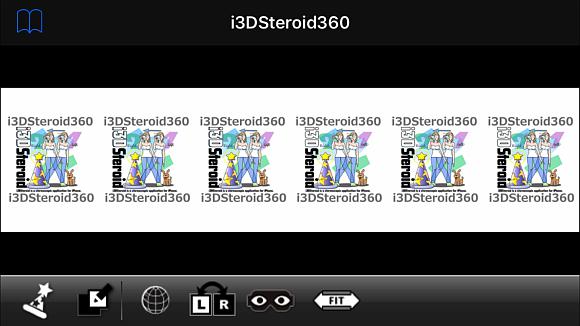
 |
menu button |
 |
Fully automatic adjustment |
 |
Adjust convergence |
 |
VR display mode |
 |
Replacement of left and right images |
 |
Stereo display format |
 |
Fit the display size to the screen |
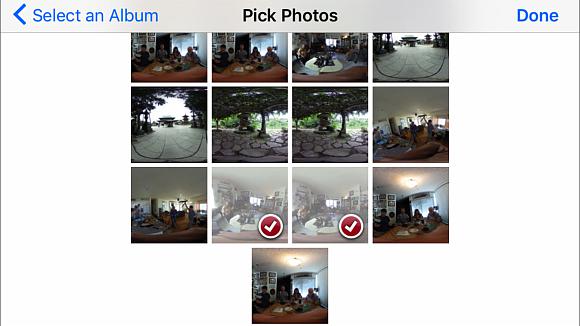
3. Push "Open file" menu button on the upper left to select the
right and left spherical image pair, and click the "Finish" button
in the upper right to open the images.
You can chose stereoscopic format to display by selecting stereo format
by pushing 3D glasses button.
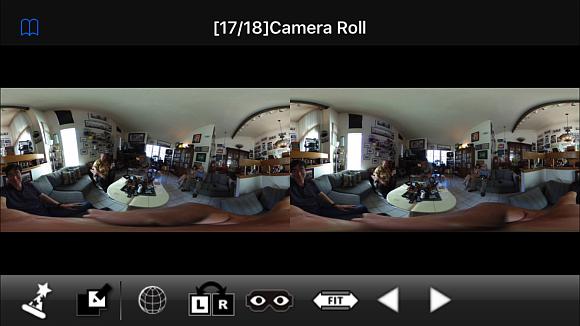
4. Push "Fully automatic button" in the lower left to process the
below automatically;
=> Aligning the rotational position of the left and right images
=> Combining left and right images
=> All the processing until
=> back and forth adjustment of the back camera
In the automatic adjustment procedure, the rotation of the left image is
adjusted against the right image as reference.
Press "left / right interchange button" to clear all adjustments
you have made so far and change left and right images, please press "FULL
AUTO BUTTON" again.
 |
Fully automatic adjustment |
 |
VR display button to view with VR viewer |
5. Press the "VR display button" of the glove mark to switch to
the VR viewer mode. (It will take a while.)
Please set the smartphone in the VR viewer and view. It will track the
head rotation.
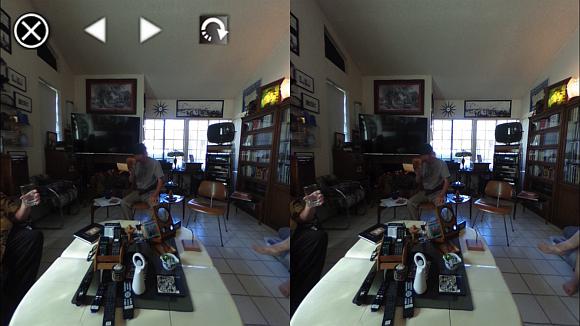
In the VR display mode, the screen scrolls according to the orientation
of the device, but when you press the changeover button on the upper right,
the device interlocking will stop and you will be able to touch scroll.
When you press the previous image/next image button, the image will be
changed to next in the folder. When two images on the left and right are
specified, Automatically adjust with 2 set, then switch images.
When single aligned image of SBS or T&B format is specified, automatic
adjustment is not performed.
Every time you tap on the screen, the button will show / hide.
To terminate, please press the close button on the upper left.
 |
Close button |
 |
Previous image button |
 |
Next image button |
 |
Switch Button |
6. If you switch the stereo format to anaglyph, the VR display will also be
changed to anaglyph display mode.
In the main screen, press the stereo display button, select the anaglyph
type of your choice from the stereo format and at the upper left of the
screen
Press <character string> to return to the main screen.

 |
VR display button |
 |
Stereo display format |
7. VR viewer mode can not be used on iPad, so please enjoy with touch scrolling
of anaglyph image.

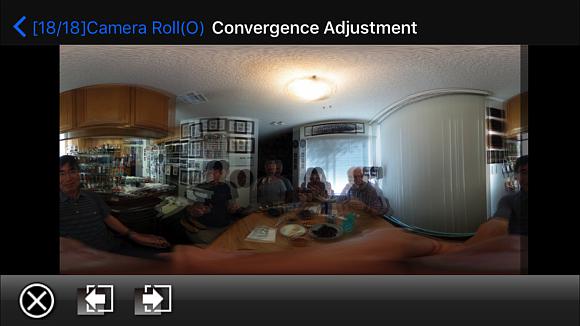
8.The convergence adjustment button can be used to adjust the convergence.
Press left / right button or touch scroll to adjust and press the X button
to clear the adjustment.
When adjustment is completed, press < > at the upper left of the
screen to apply the adjustment.
 |
Convergence adjustment button |
 |
Adjust clear |
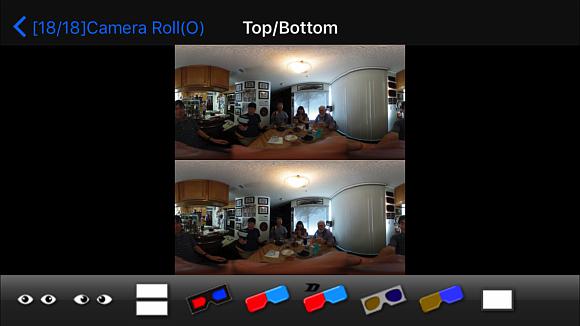
9. To save the adjusted image, press the stereo display button on the main
screen, select the stereo format you want to save.
Then press "Book" button at the top left of the screen to return
to the main menu.
 |
Stereo display format |
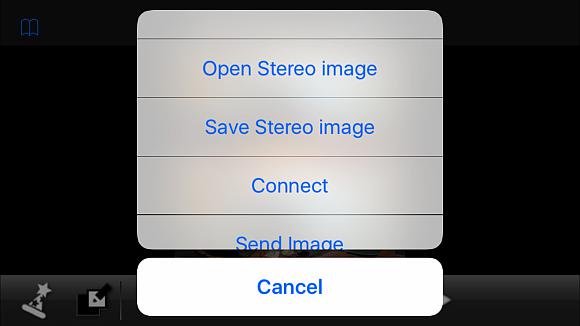
10. Press the Menu button, select Save Image and select the resolution you
want to save.
If you choose high resolution, the application may come to an abnormal
end due to insufficient memory. In such case please try again to save with
reduced resolution.
 |
menu button |
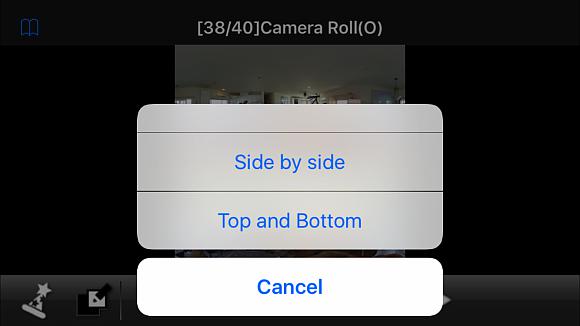
11. When opening Top and Bottom or Side by Side format image, open just an
image from the menu.
APP will open it as separated left and right images. Pushing next/previous
bottom will separates it to the left and right images by asuming the same
format and open it.
Next/previous bottom in VR display mode works same but automatic adjustment
does not be performed.
12. If you connect two iPhone or iPad with "Connect to another iOS device"
in the menu, you can transfer the displayed image to another device.
This function works for the combination of i3DSteroid and i3DSteroidbasic
devices as well.
13. You can view some full spherical 3D sample images in the "WEB Gallery"
menu.
14. You can browse this page in the menu help as well.
Limitations
Although adjustment of the rotation deviation of the left and right can
be done with considerable precision, in principle it is impossible to eliminate
vertical disparity completely in all areas.


