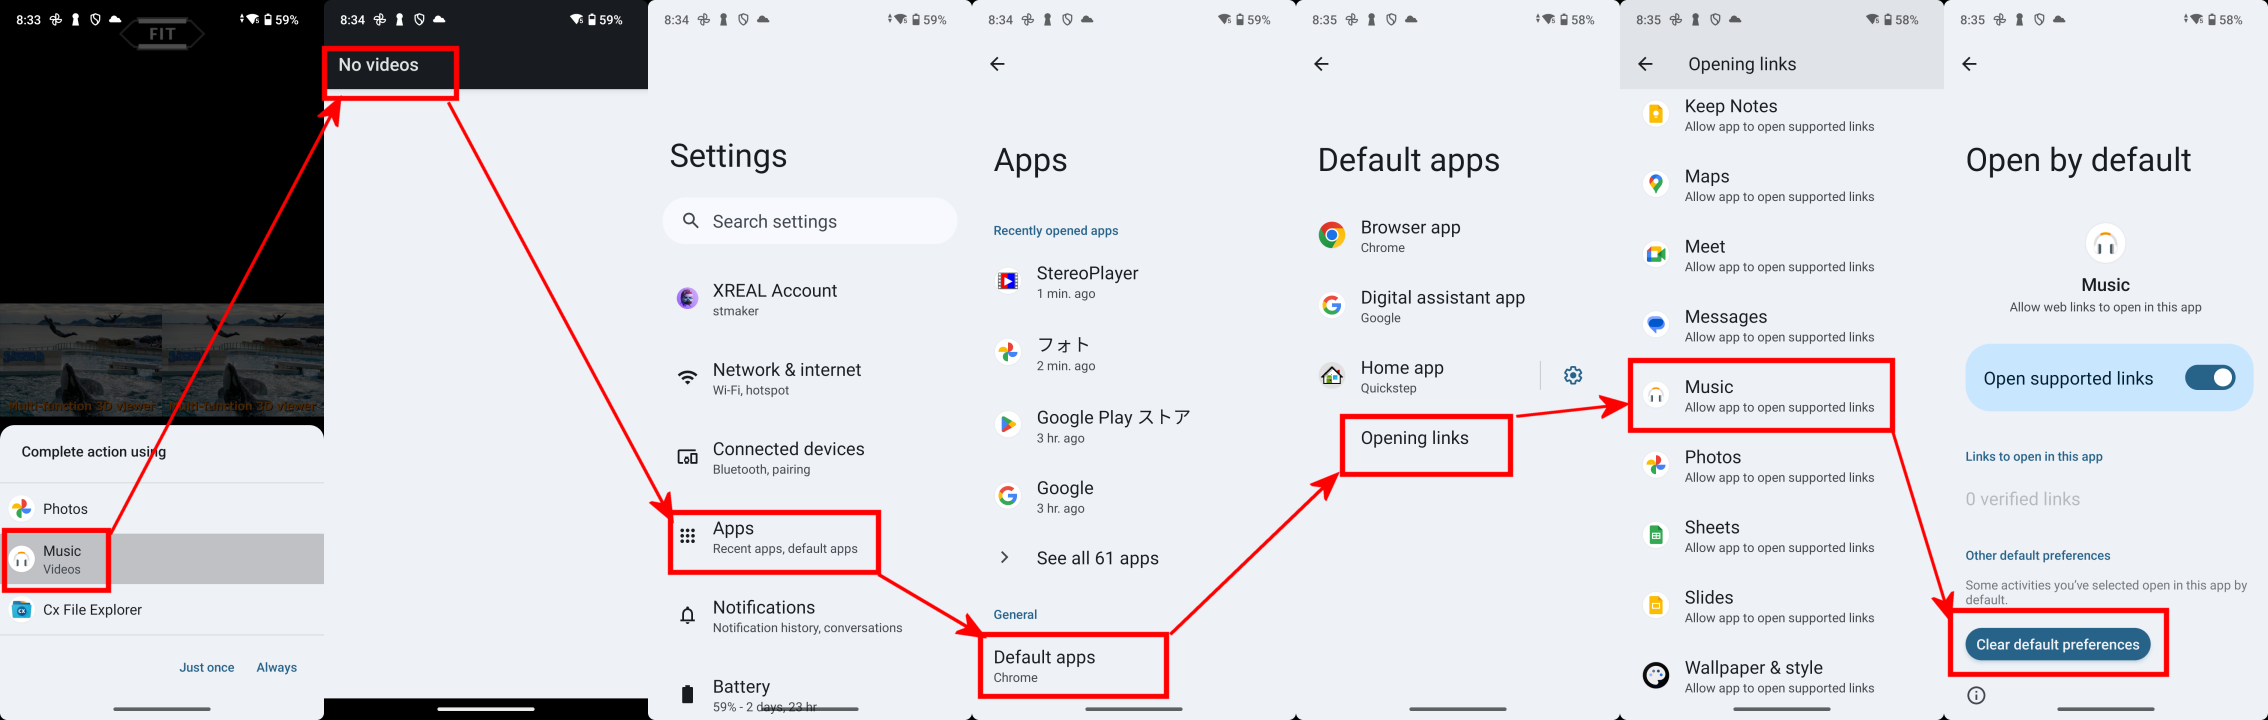
If you see the message "No videos" when you press the "MOVIE" button,please read here.
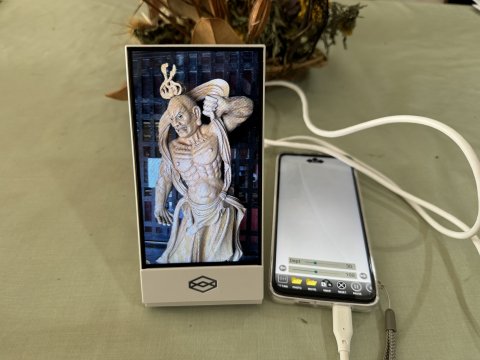
Android devices capable of capturing 3D video and still images, such as the Xreal Beam Pro, are now available.
Looking Glass has also released the Looking Glass Go, a multi-view display that can receive video and power directly from a
USB-C cable.
More and more Android devices, including the Xreal Beam Pro, are equipped
with "DP Alt Mode", which enables them to output video and power
via the USB-C port.
"StereoLkg" is an application that enables 3D display of SBS 3D still images and videos, RGB and depth map still images and videos from Android devices to Looking Glass Go simply by connecting them to the cable.
With Xreal Beam Pro, 3D still and moving images of SBS taken with the stereo
camera of the main unit can be immediately displayed on the cable-connected
Looking Glass Go.
This application is equipped with the following three engines, so please enjoy switching between your favorite engines on the settings screen.
1. SBS to LKG : Displays SBS 3D still and moves on the cable-connected
Looking Glass.
The 3D image can only be seen from the front of the Looking Glass. If the image does not look 3D, please shift your viewpoint to find a position where the image looks 3D.
2. RGBD to LKG : Displays RGB and depth map SBS still images and movies on the cable-connected Looking Glass.
RGBD Movie sample
3. 3D Model Sample : Displays a sample animation of Three.js on the connected
Looking Glass.
Note that in order to use this application, you must first load the Looking Glss calibration values file(Visual.json) from the settings screen.
When Looking Glass Go is connected to a PC, it is recognized as a drive,
and the "visual.json" file is located in the folder "LKG_calibration"
in the drive.
Copy that file to the Android device to be used, and press the "LOAD
JSON" button on the settings screen to load it.
You can also load the file by storing it in Google Drive.
Operation (almost the same for all engines)
When displayed on Looking Glass, the mobile phone screen is used to operate
the engine.
1. Pinch to zoom in/out on an image
2. touch scroll to move the image
3. Touch "Fit" button at the top of the screen to return to the
original size and position.
4. Select the still image or movie you wish to view with the "PHOTO" and "MOVIE" buttons at the bottom of the screen.
5. use the arrow keys on either side of the slider to switch images sequentially
in the folder where the selected movie or still image is located.
6. The "SWAP" button at the bottom of the screen swaps the left
and right images; when RGBD is selected, the black and white of the depth
map will be inverted.
7. Press "RESET" button at the bottom of the screen to restore the settings.
8. "PAUSE", "PLAY" , and "REPLAY" buttons
at the bottom of the screen allow you to control the video.
9. The slider at the bottom of the screen is used to adjust the focus of
the Looking Glass display.
10. When in RGBD mode, the Depth slider is displayed at the top for depth adjustment.
11. Click the leftmost "SETTING" button at the bottom of the screen to switch to the settings screen.
Setting Screen
Select Viewer : Switches between 3 engines.
LOAD JSON : Loads the calibration file (Visual.json) described above. You only need to do this once for the first time. However, if you change to a different Looking Glass, load the file again.
HELP PAGE : Display this page.
OK : Close the setting page.
Other notes
As mentioned above, Looking Glass Go receives power and images from the
USB-C cable and displays them, but it seems that the power supply from
the mobile phone is just barely enough.
Therefore, even if Xreal Beam Pro is connected, the LEDs may not light
up.
My Xreal Beam Pro and Looking Glass Go were connected without any problem
at first, but at some point, the LED did not light up at all when connected.
In such a case, I revive it as follows.
1. connect a working mobile phone and then change the connection to Xreal
Beam Pro.
2. connect to an external power source and then reconnect to Xreal Beam
Pro.
Also, at one point, the LED did not light up on the external power supply, and I thought it was broken, but when I pressed and held the SW inside with a thin stick through the small hole by the power button, it came back on. I do not know why.
Important)
The very first "PHOTO" and "MOVIE" buttons will bring up the "Complete action using" screen for file selection. Select the "Photos" application for both still images and movies.
If you select "Music Videos" and press the "Always" button at the time of video, "No videos" will be displayed and you will not be able to recover the file even if you reinstall the application.
If you have mistakenly selected "Music Videos" and press "Always" , please follow the instructions below to cancel the setting.