1. Start SPM and press Alt + C to open the Looking Glass calibration screen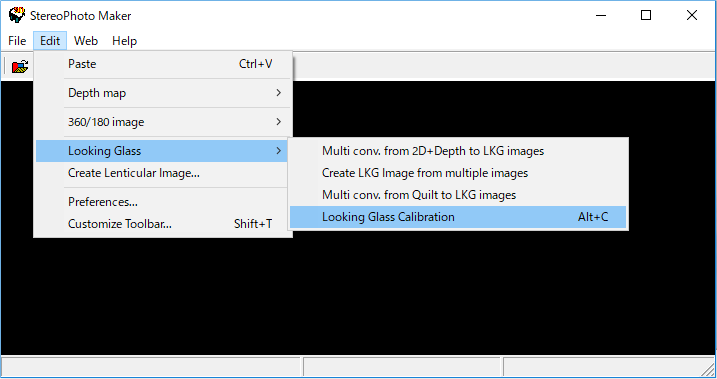 |
| 2. perform the following setting a) Screen size : Width:2560 Height: 1600 b) Looking Glass display position Specify where in the multi display the Looking Glass will be placed in display setting. Looking Glass recommends left (see the figure below). Display 1 and 2 should be top aligned. If it is correctly set, a diagonal line will appear in Looking Glass. 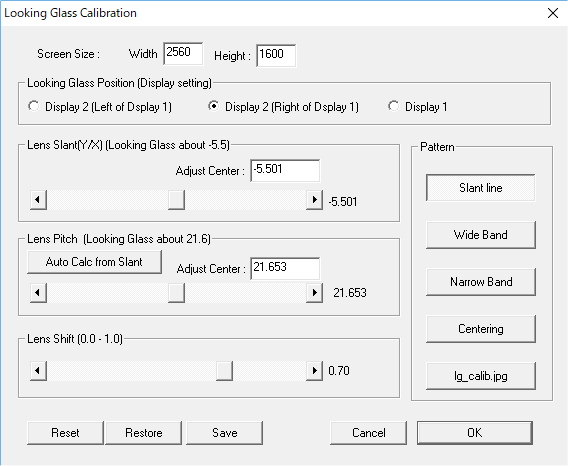 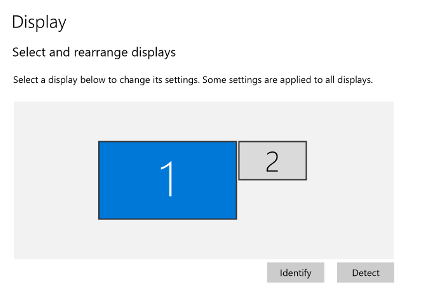 |
| 3. Lens Slant adjustment Adjustment numbers can be entered directly by keyboard, but since the tilt is around 10 degree, Please set to -5.5 (1 o'clock direction) And, tune it by slider, slanted line to the center. Please adjust until it will not cut. The value displayed on the right side of the slider is the adjustment value. OK example (It is connected until you did from the top without diagonal lines) 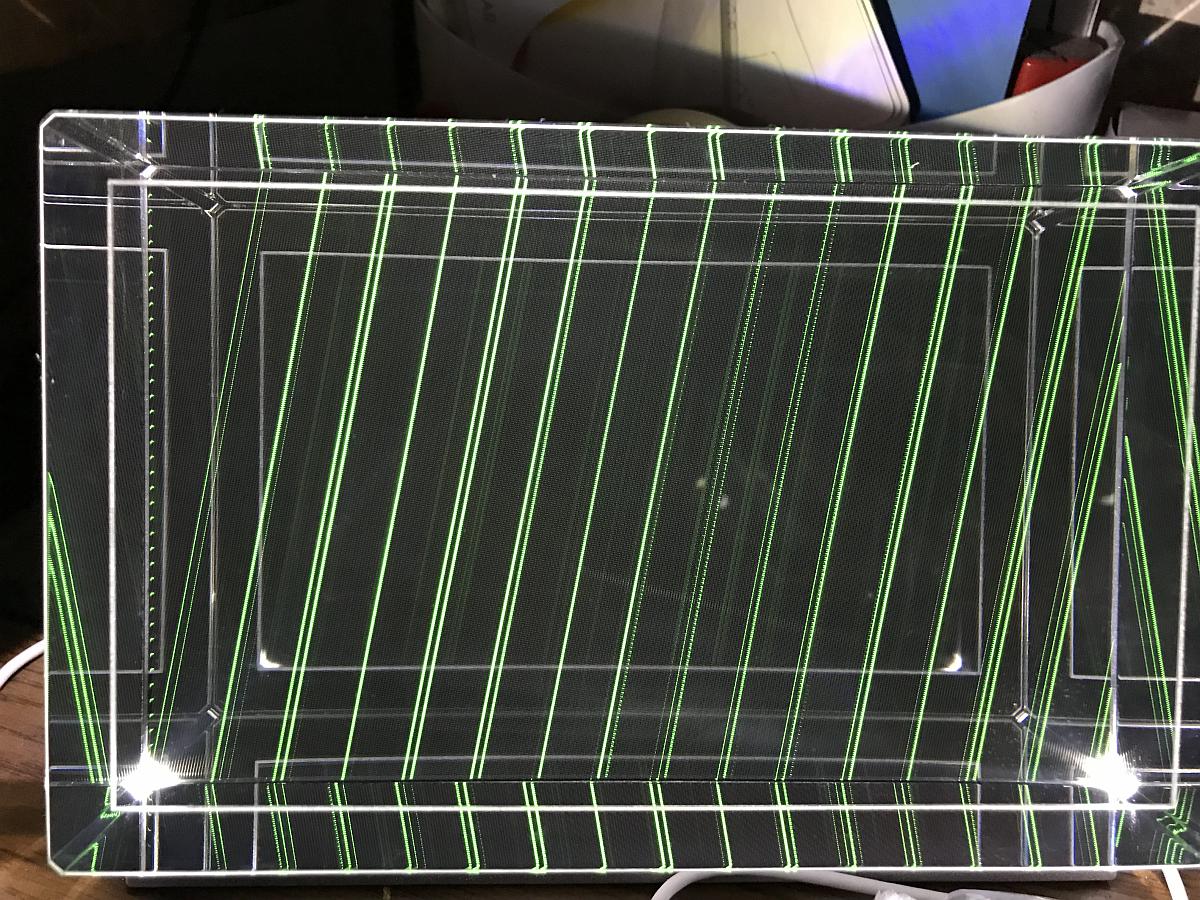 NG example (the diagonal line is cut in the middle ) 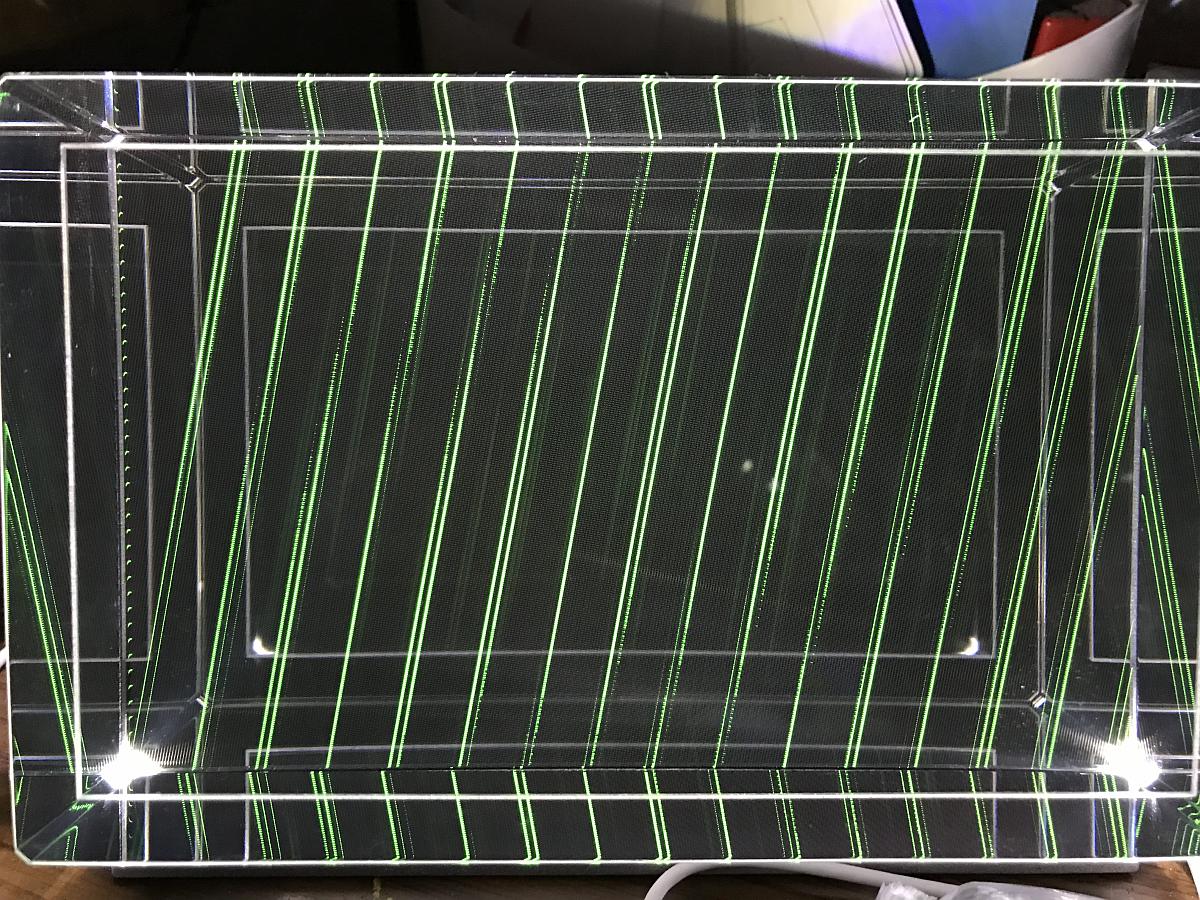 |
| 4. The lens pitch adjustment (rough adjustment) When you press the "Auto Calc from Slant" button, the lens pitch is calculated automatically and set at the center of adjustment, so it should be very close, but you may perform fine adjustment. Press the adjustment pattern "Wide Band". Adjust with the slider so that it becomes the same color on all sides. I think that it is better to adjust by one eye. The viewing angle changes depending on the distance from Looking Glass, so the adjustment value may differ. Normally, please adjust at the position to watch. OK example (It will be the same color all over)  NG example (RGB band can be seen) 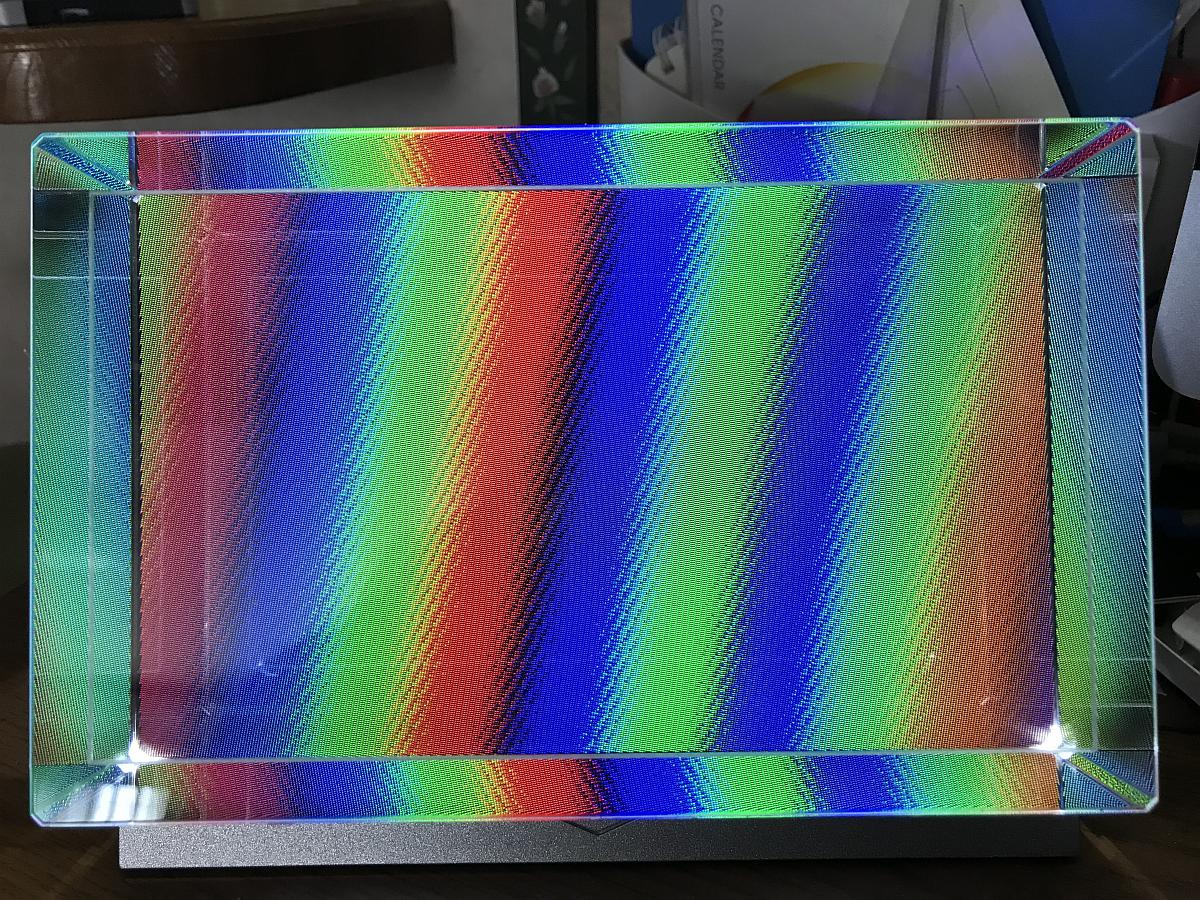 |
| 5. Adjust lens Pitch (precise adjustment) Press the adjustment pattern "Narrow Band". Adjust with the slider so that the width of each color is maximum. I think that it is better to adjust with one eye. The viewing angle changes depending on the distance from Looking Glass, so the adjustment value will change. Normally, please adjust at the position to watch. Even if it does not fit very strictly it seems to be okay. OK example (The width of the same color becomes maximum.) Also, when you look at both eyes, you will see multiple colors. Please adjust with one eye. 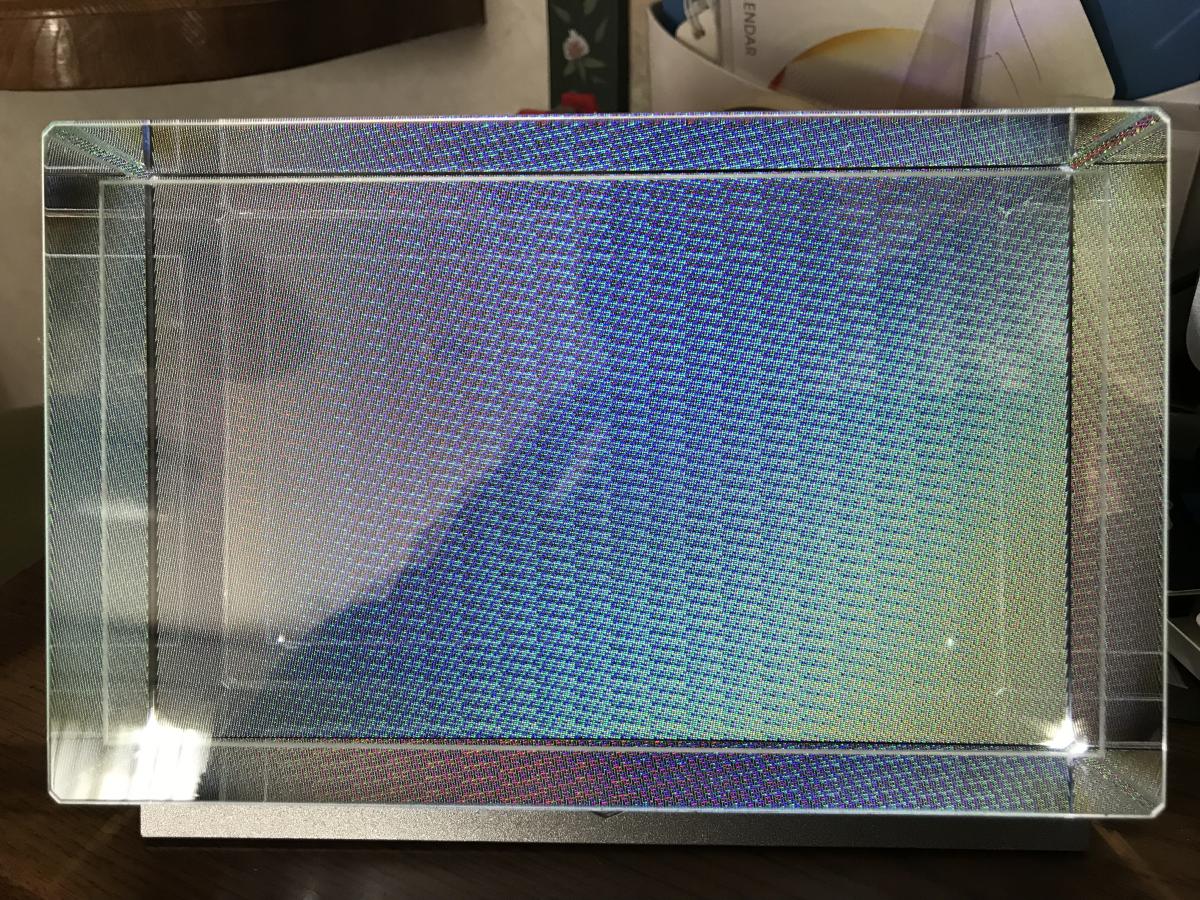 NG example (RGB band can be seen) 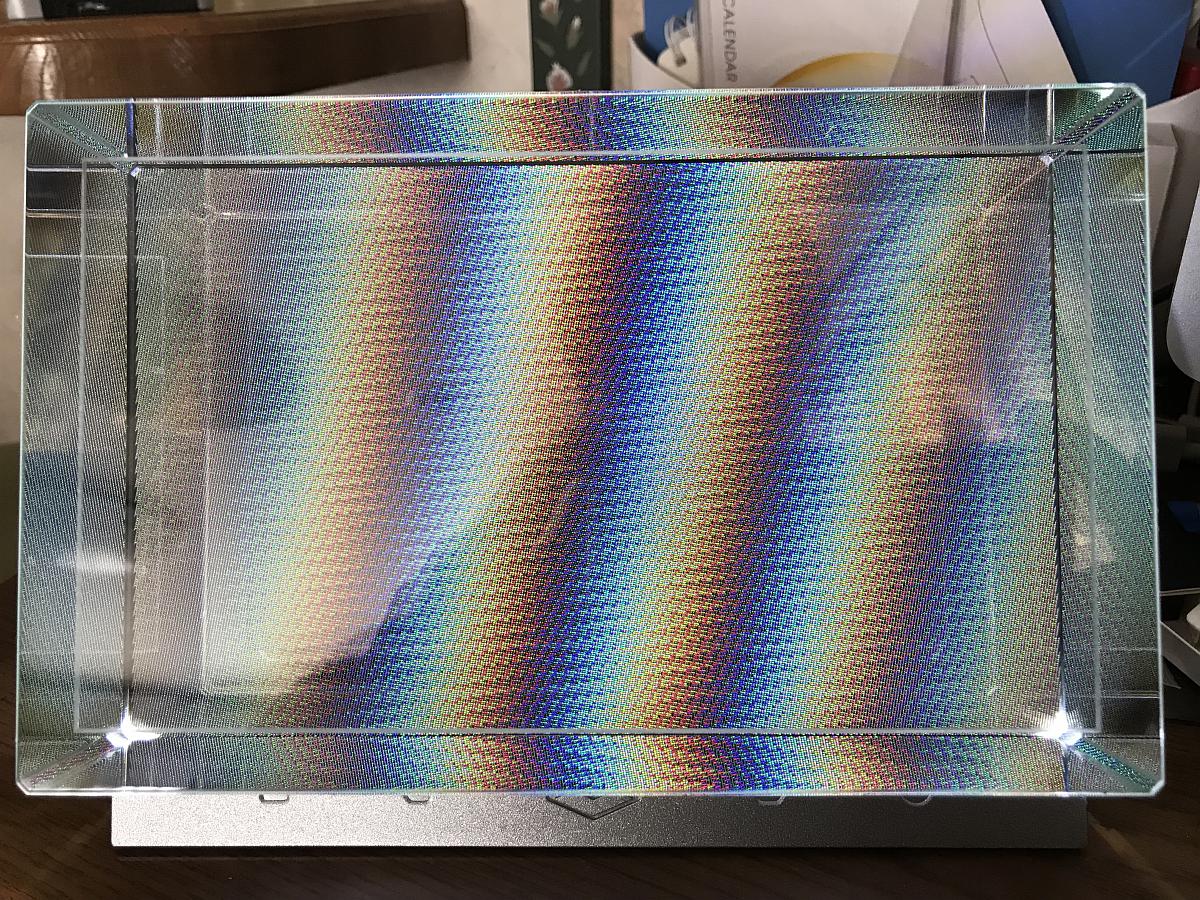 |
| 6. Centering the lens If the center of the lens is not aligned to the center of the image, Images will be flipped while you are viewing from right to left looking Glass. Press the adjustment pattern "Centering" and adjust the slider so that the lines will overlap. Please align with the front center of the screen with one eye. OK example (lines overlap) 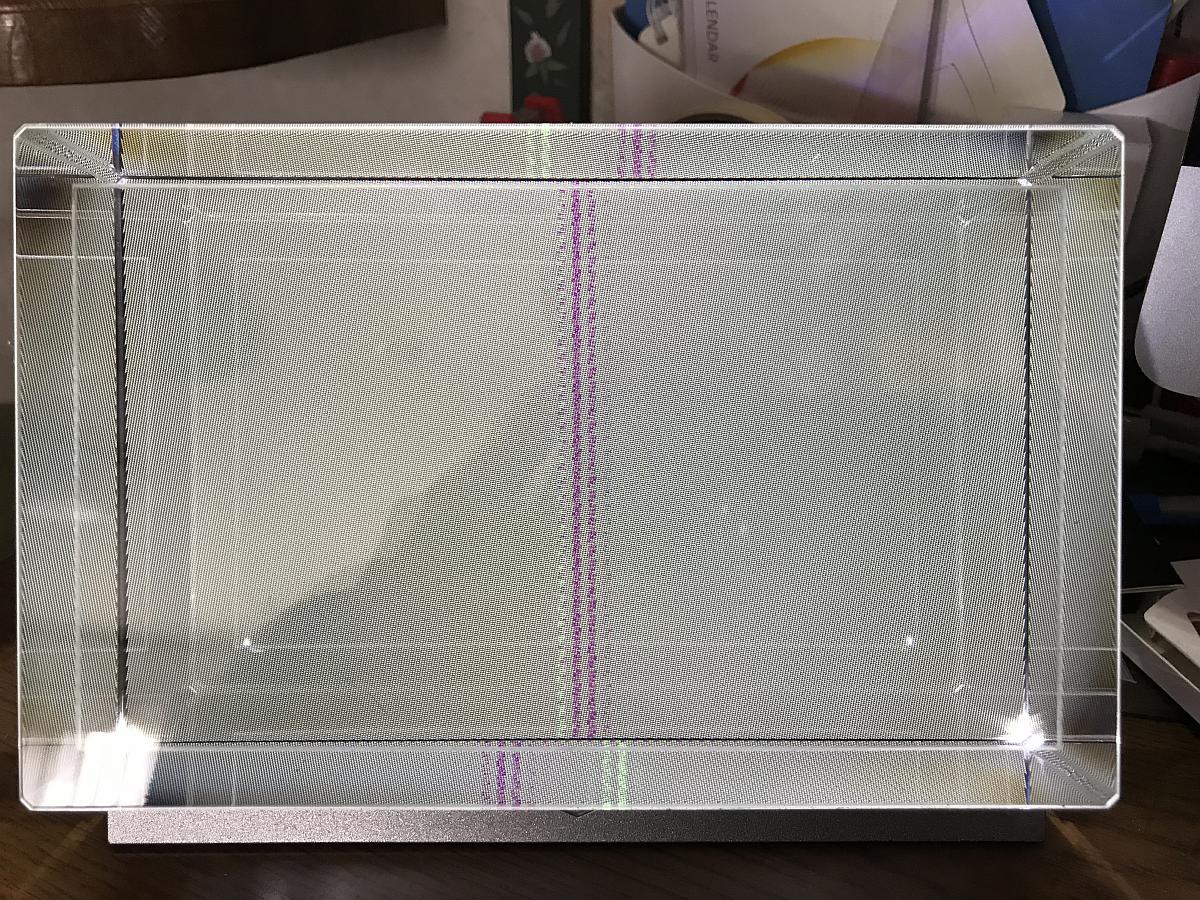 NG example (lines can be seen apart) 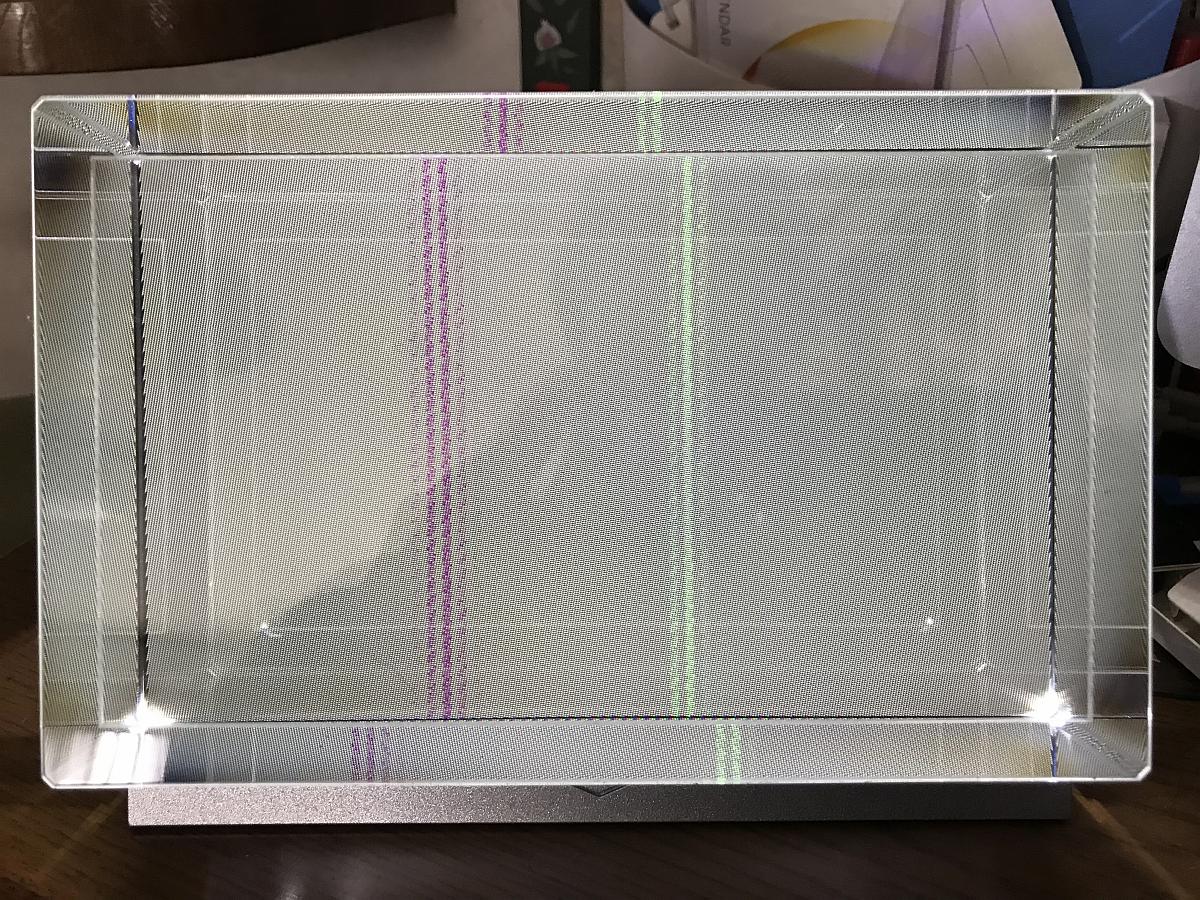 |
| 7. Confirmation press the lg_calib.jpg button, the image will be switched every time you press it, Please confirm that it is properly displayed in Stereo. Move your head to the left and right, and please confirm that it looks normal as much as possible. Please re-adjust if there is a problem. 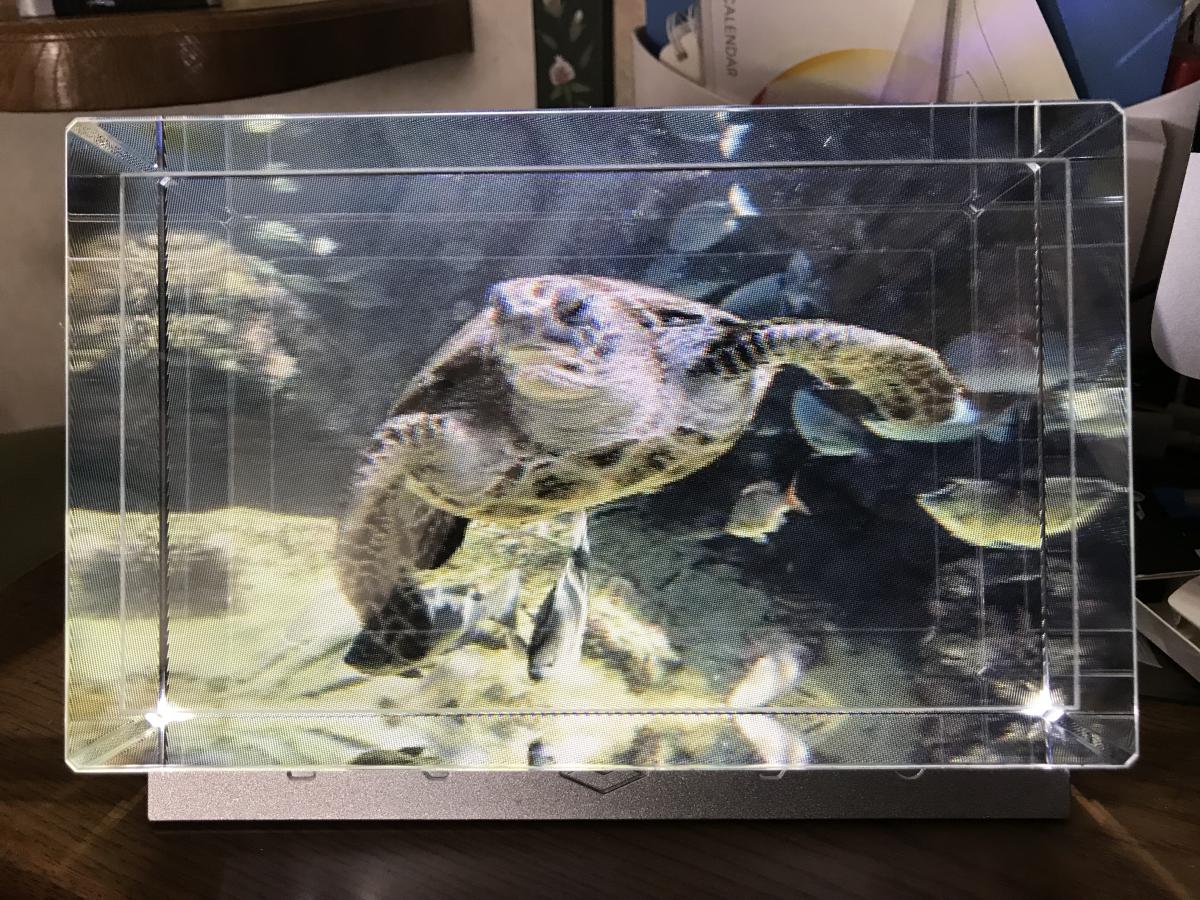 |
| 8. Save settings When you set it correctly, we recommend you to press the Save button, with a suitable file name. You can recall the setting with the Restore button. If you want to use a different PC, if you copy and load the configuration file, you do not need to calibrate again |
| 9. Complete Calibration By pressing the OK button, the setting value is saved in the registry, so the value is retained even when you exit SPM. So unless you change the setting, use that value to display the looking glass. You only need to calibrate the first one time. |